You’re ready to sell to tabletop & hobby game enthusiasts: you have a product, a customer list, and a marketing plan. But how do you launch your e-commerce website? Which platform should you choose? Once you’ve picked one, how do you design a layout that drives sales? What essential apps or plugins will you need? Great questions. Let’s explore our official roadmap for DIY e-commerce success.
Step 1: Picking the perfect e-commerce platform for your store
There are so many e-commerce platforms that you can use to sell tabletop & hobby game products online. Choosing the correct one is pivotal to the long-term success of your online store.
What are my e-commerce platform options?
Buckle up, buttercup. There is a long list to get through:
Which platform is best for my business?

TLDR: The simple answer is Shopify.
Whether you’re a small startup, a growing business, or an established company, we believe Shopify is the top choice for vendors in the tabletop and hobby game industry.
Shopify offers a wide range of powerful features designed to support you and your business as you grow. Here are some key benefits:
- Standard e-commerce features: a comprehensive suite of tools to manage products, collections, checkout, and other essentials.
- Customizable online store: a user-friendly store customizer with the flexibility to integrate into a headless website as you grow.
- Theme store (free & paid options): a wide variety of easy-to-use, customizable themes that can be tailored to match your brand.
- Robust app marketplace: a vast array of apps and integrations to support your e-commerce needs, no matter how bold your ideas may be.
- Scalable subscription levels: plans that grow with your business, from independent creators to Fortune 500 companies.
- Local POS options: sell locally and use the same platform as a point-of-sale system for your brick-and-mortar or pop-up shops.
- Multi-channel sales: easily sell on marketplaces like TikTok, Facebook, and Google with just a few setup steps.
- In-depth analytics: detailed, precise analytics to help guide your marketing strategies and business decisions.
- And beyond: these are just a few of the standout features; there are many more that make this the perfect choice.
Which subscription level is ideal for me?
TLDR: If you are a solo or small DIY operation, choose Shopify Basic.
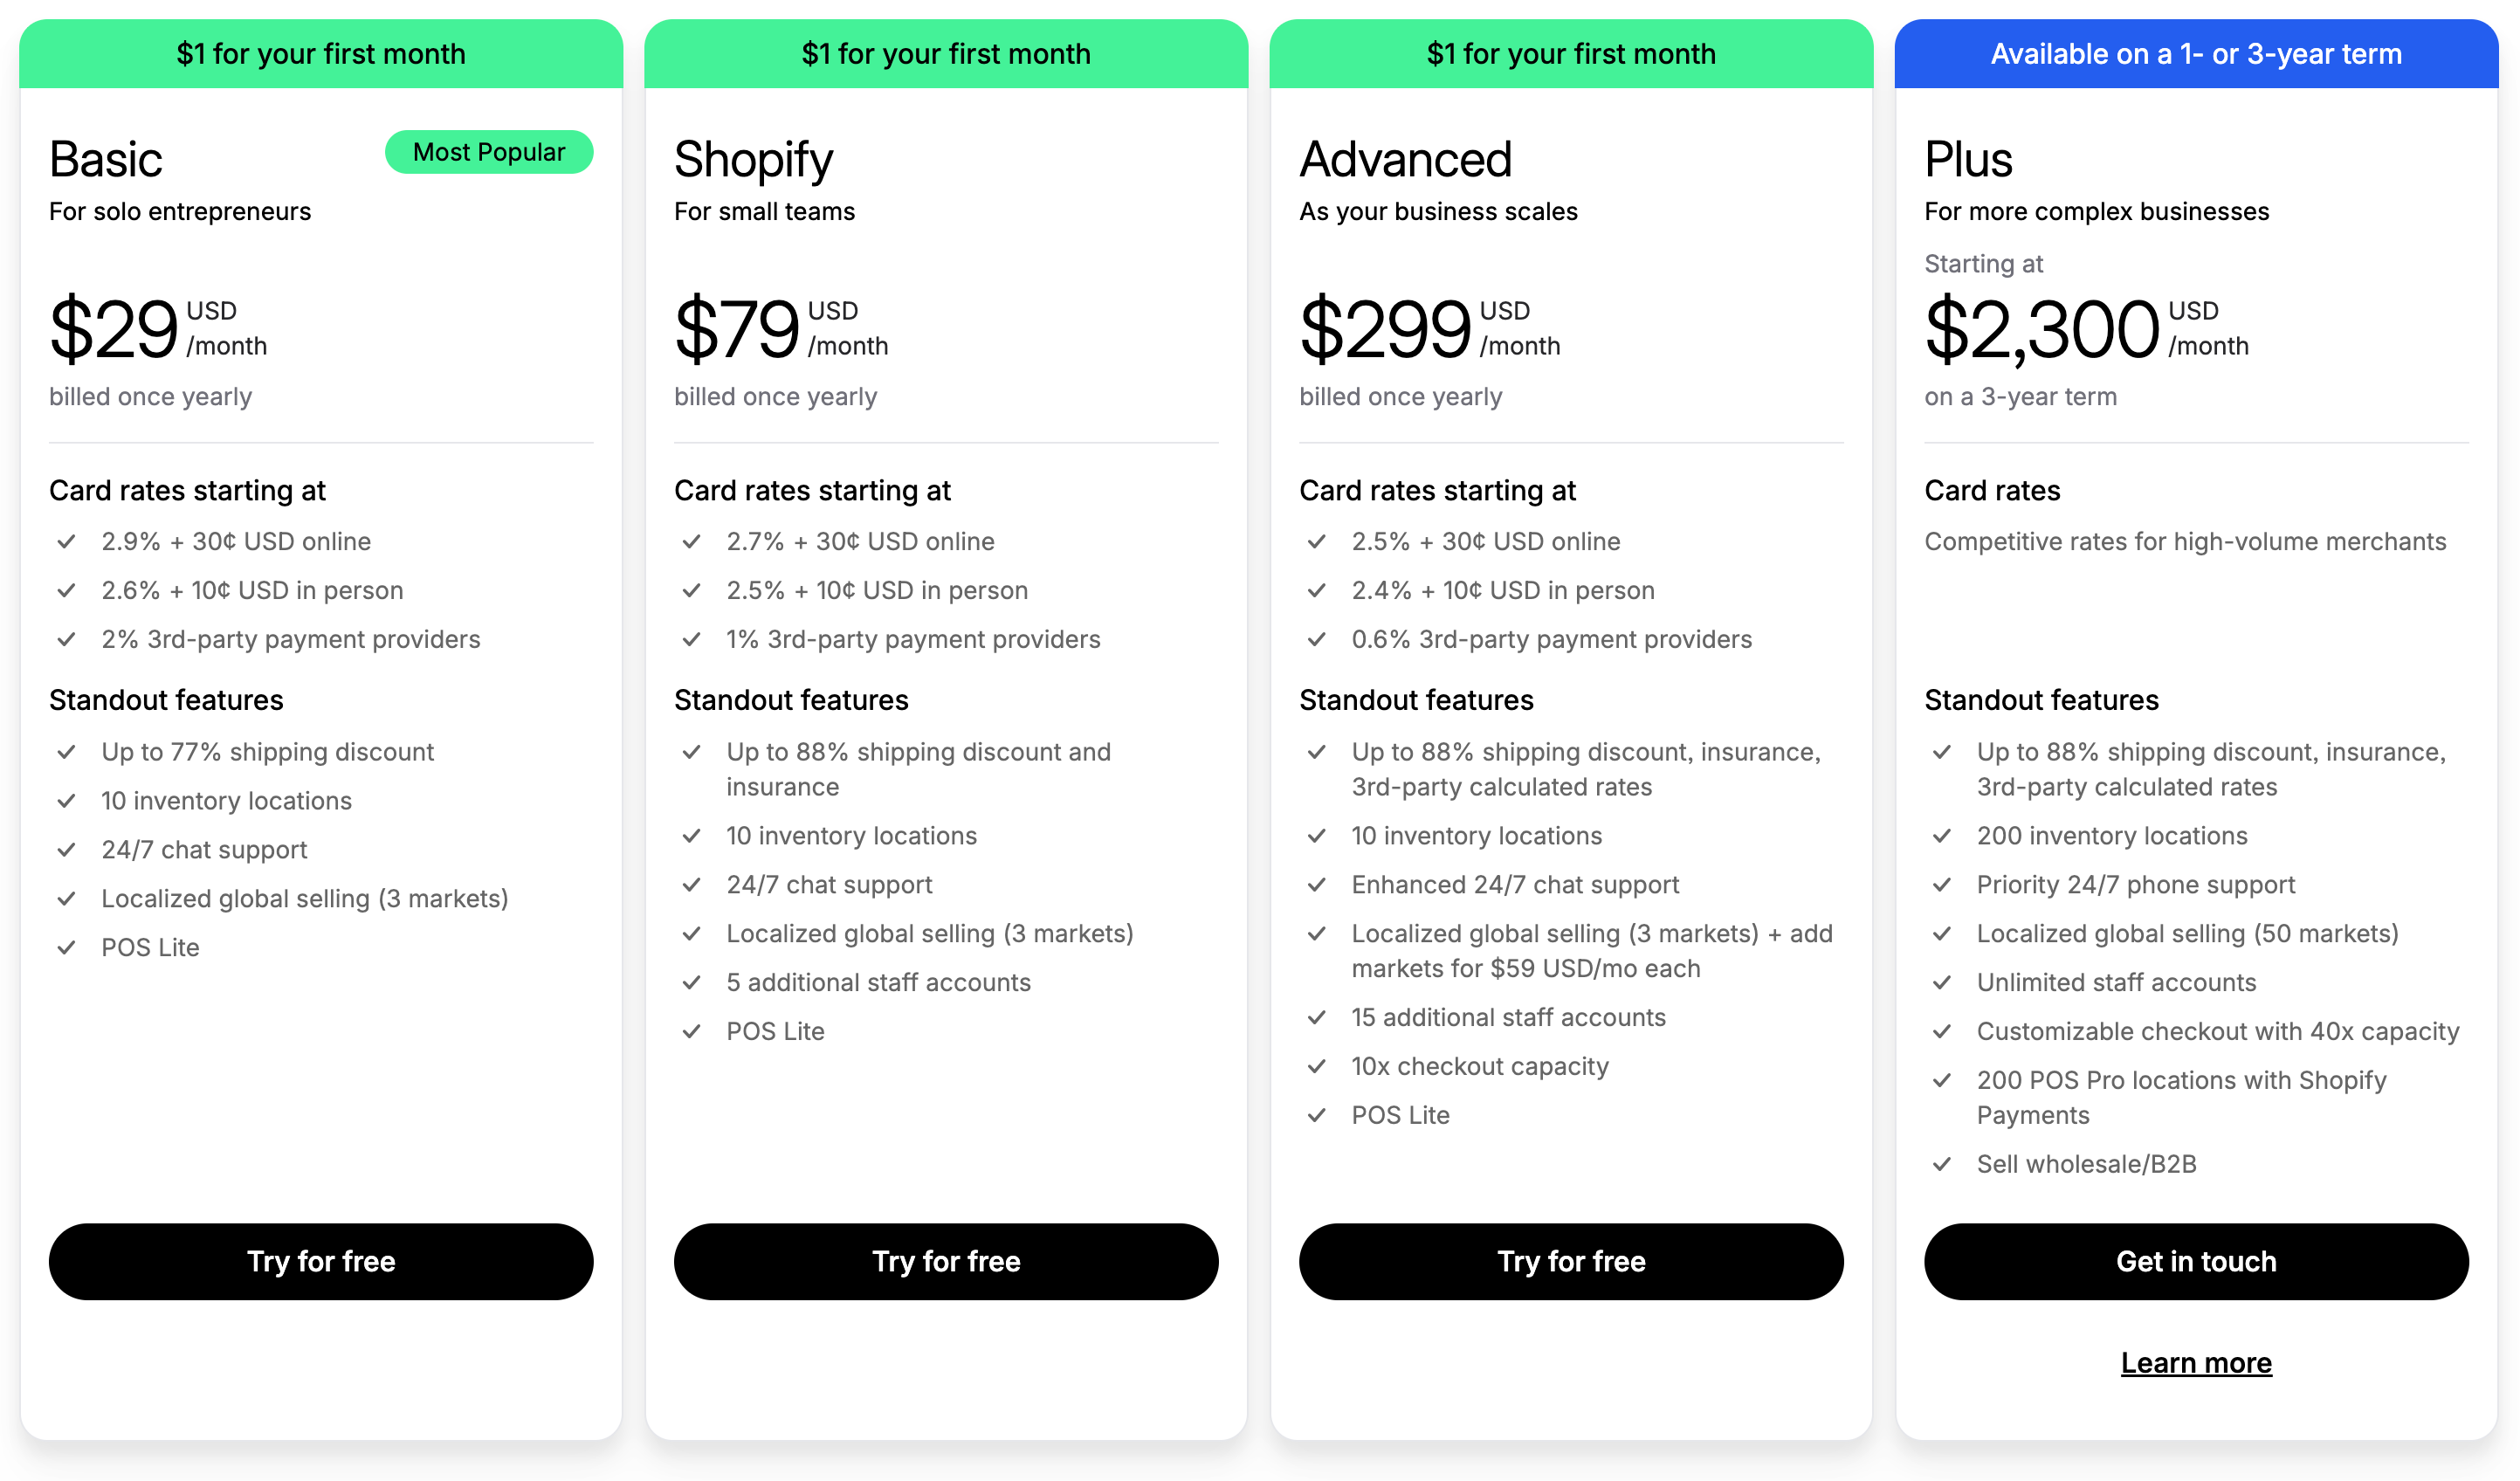
If you’re a small DIY operation, we recommend starting with Shopify Basic. This plan is budget-friendly, especially when paid annually, and includes all the essential features needed to launch your store, such as:
- A full set of online store features
- Adequate traffic limits
- Low transaction fees
- Discounted shipping
- Multiple warehouse locations
- Multi-channel sales
- Unlimited customers
- 24/7 chat support
- Localized global selling (3 markets)
- POS Lite
Step 2: Create your account & add products
TLDR: If you want in-depth guidance on how to set up an account, click here.
Once you have created your Shopify account and purchased your subscription, you will need to configure other details about your store. Some of these steps include:
Set up your account & business settings
You’ll need to create your Shopify account, providing your business details and bank account information during setup.
Add products into your account
You’ll need to add the products you want to sell, complete with descriptions, images, pricing, and any variations like size or color.
Sort your products into collections
Organizing your products into carefully curated collections is essential for helping customers easily find what they’re looking for.
Step 3: Select your theme, add your pages, & customize your theme settings
Now that you’ve created your Shopify account and configured your initial set of products, it is time to set up and customize your online store experience.
Selecting the ideal theme
TLDR: If you’re looking for a free option, we recommend the default Dawn theme. However, if you’re willing to invest in your site’s visuals, the Sleek theme is a great choice.
Shopify offers a robust theme store where you can find a theme that best matches your brand’s style. However, choosing the right one can be challenging, as each theme has its own strengths and limitations.
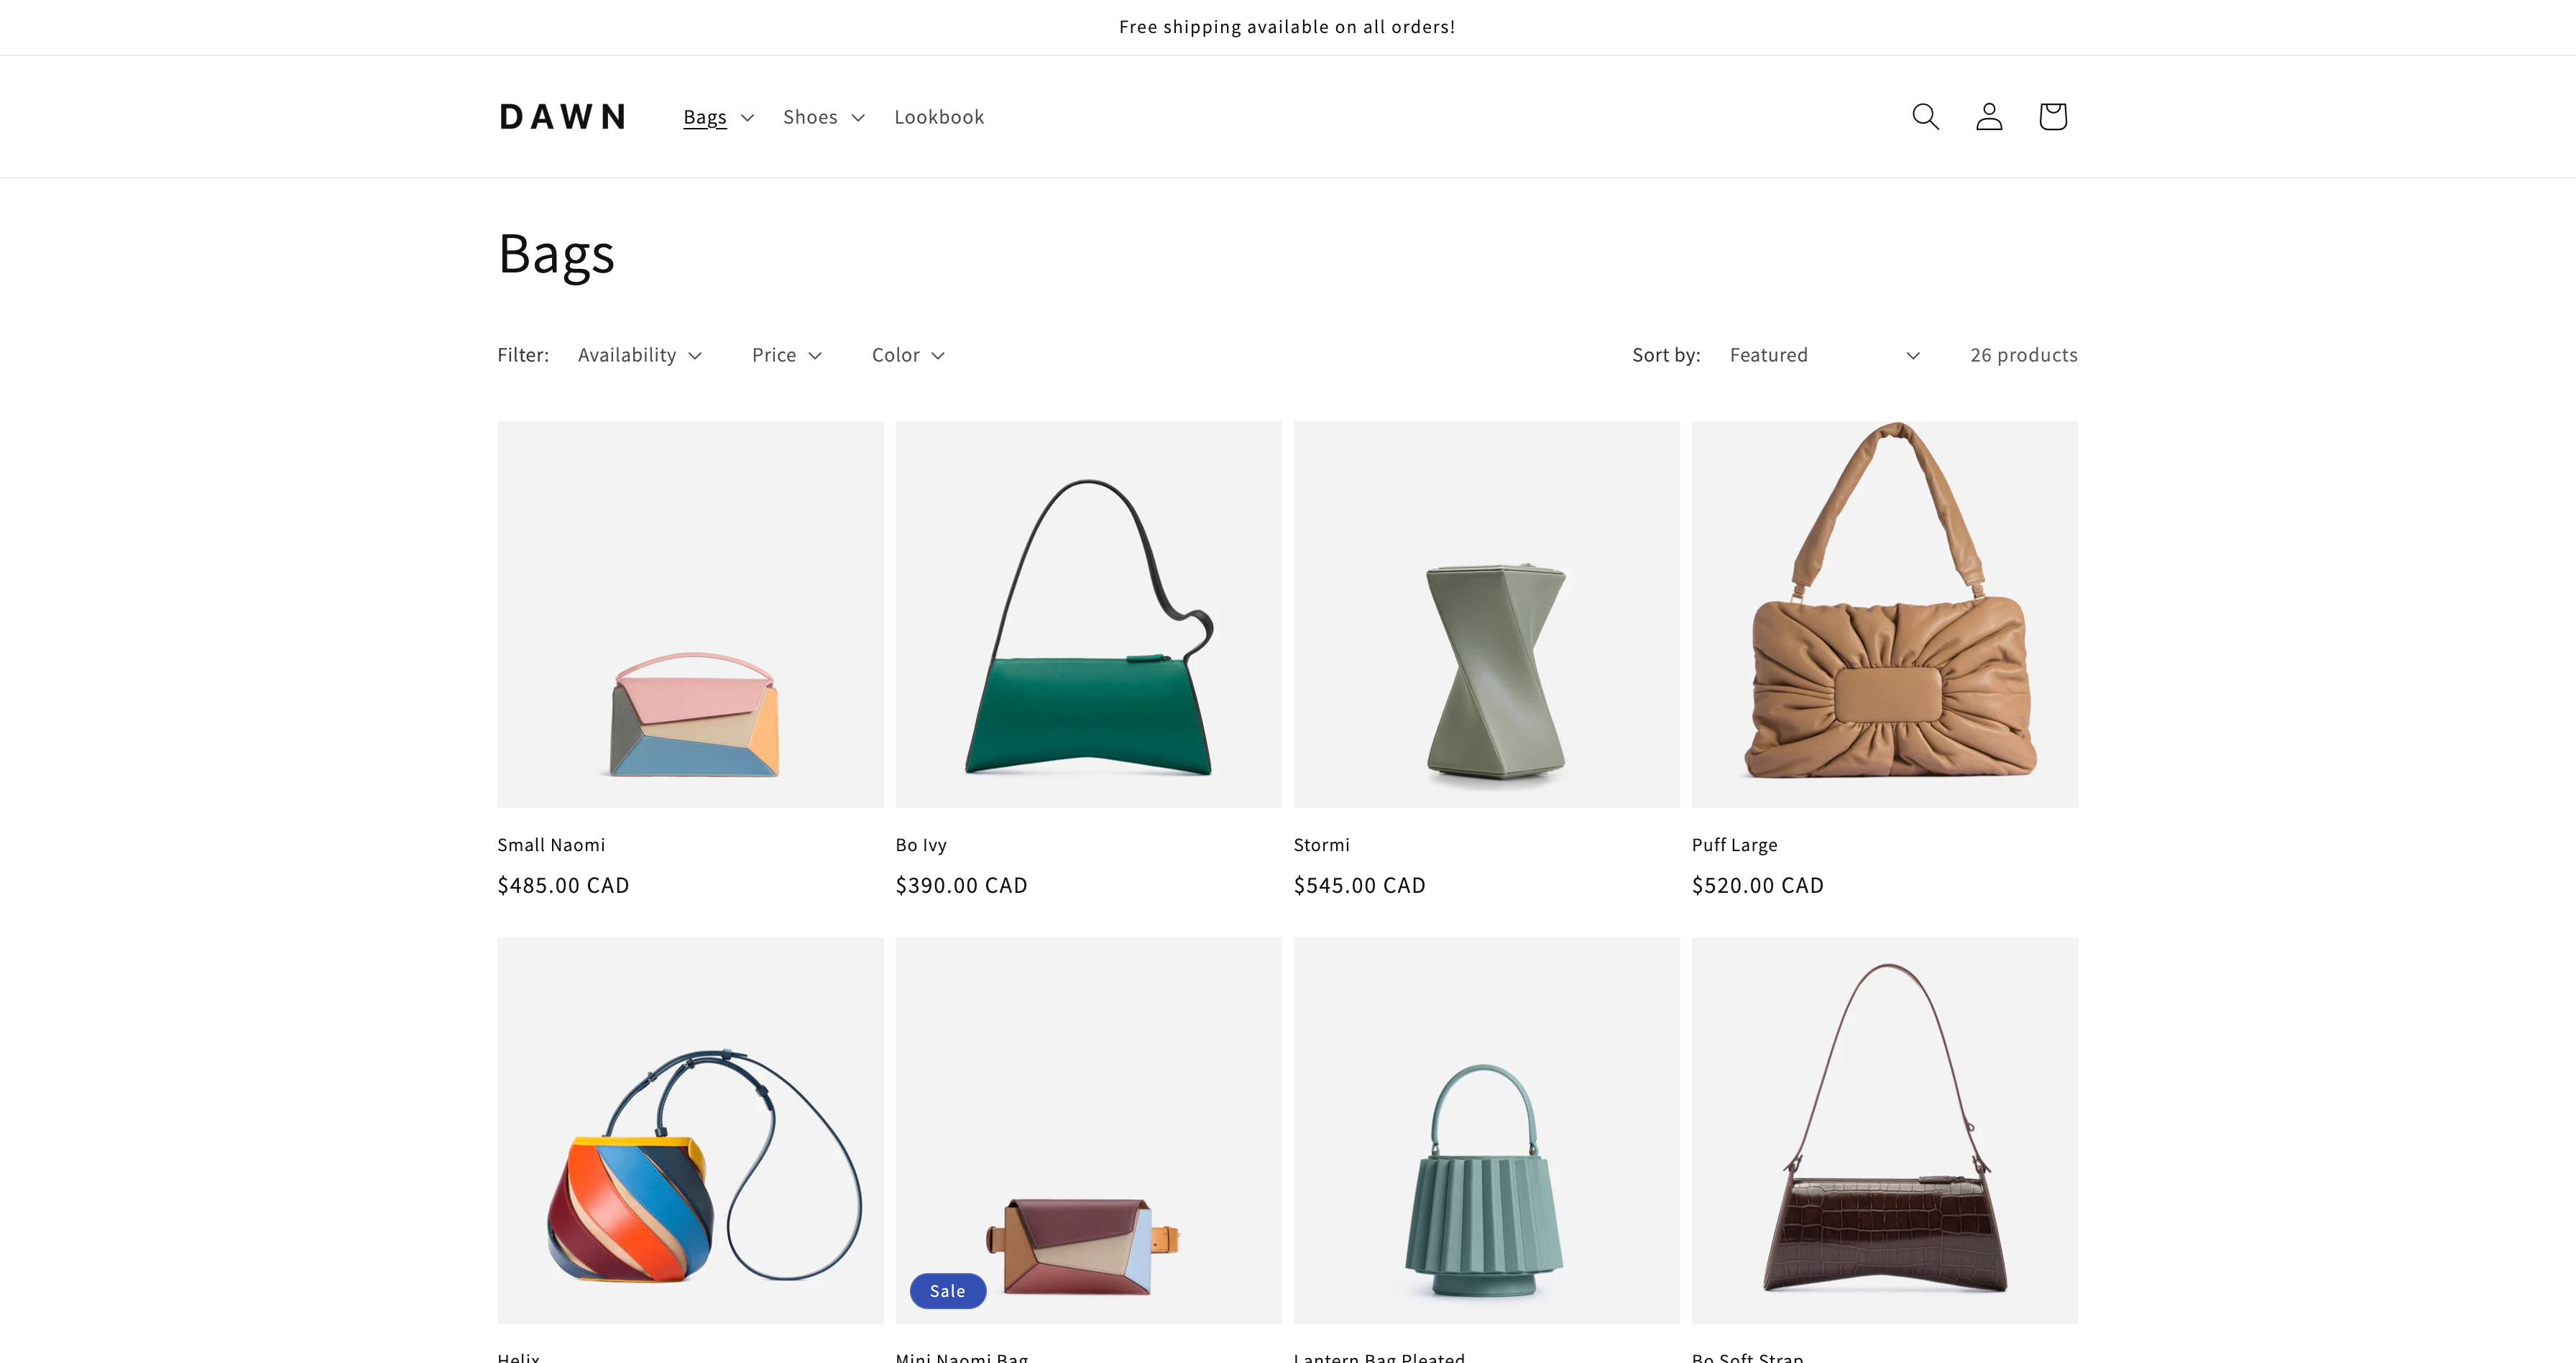
If you’re on a tight budget, we suggest using the Dawn theme, Shopify’s default theme. It’s free, versatile, and user-friendly, offering a variety of useful modules to help you design your page layouts with ease.
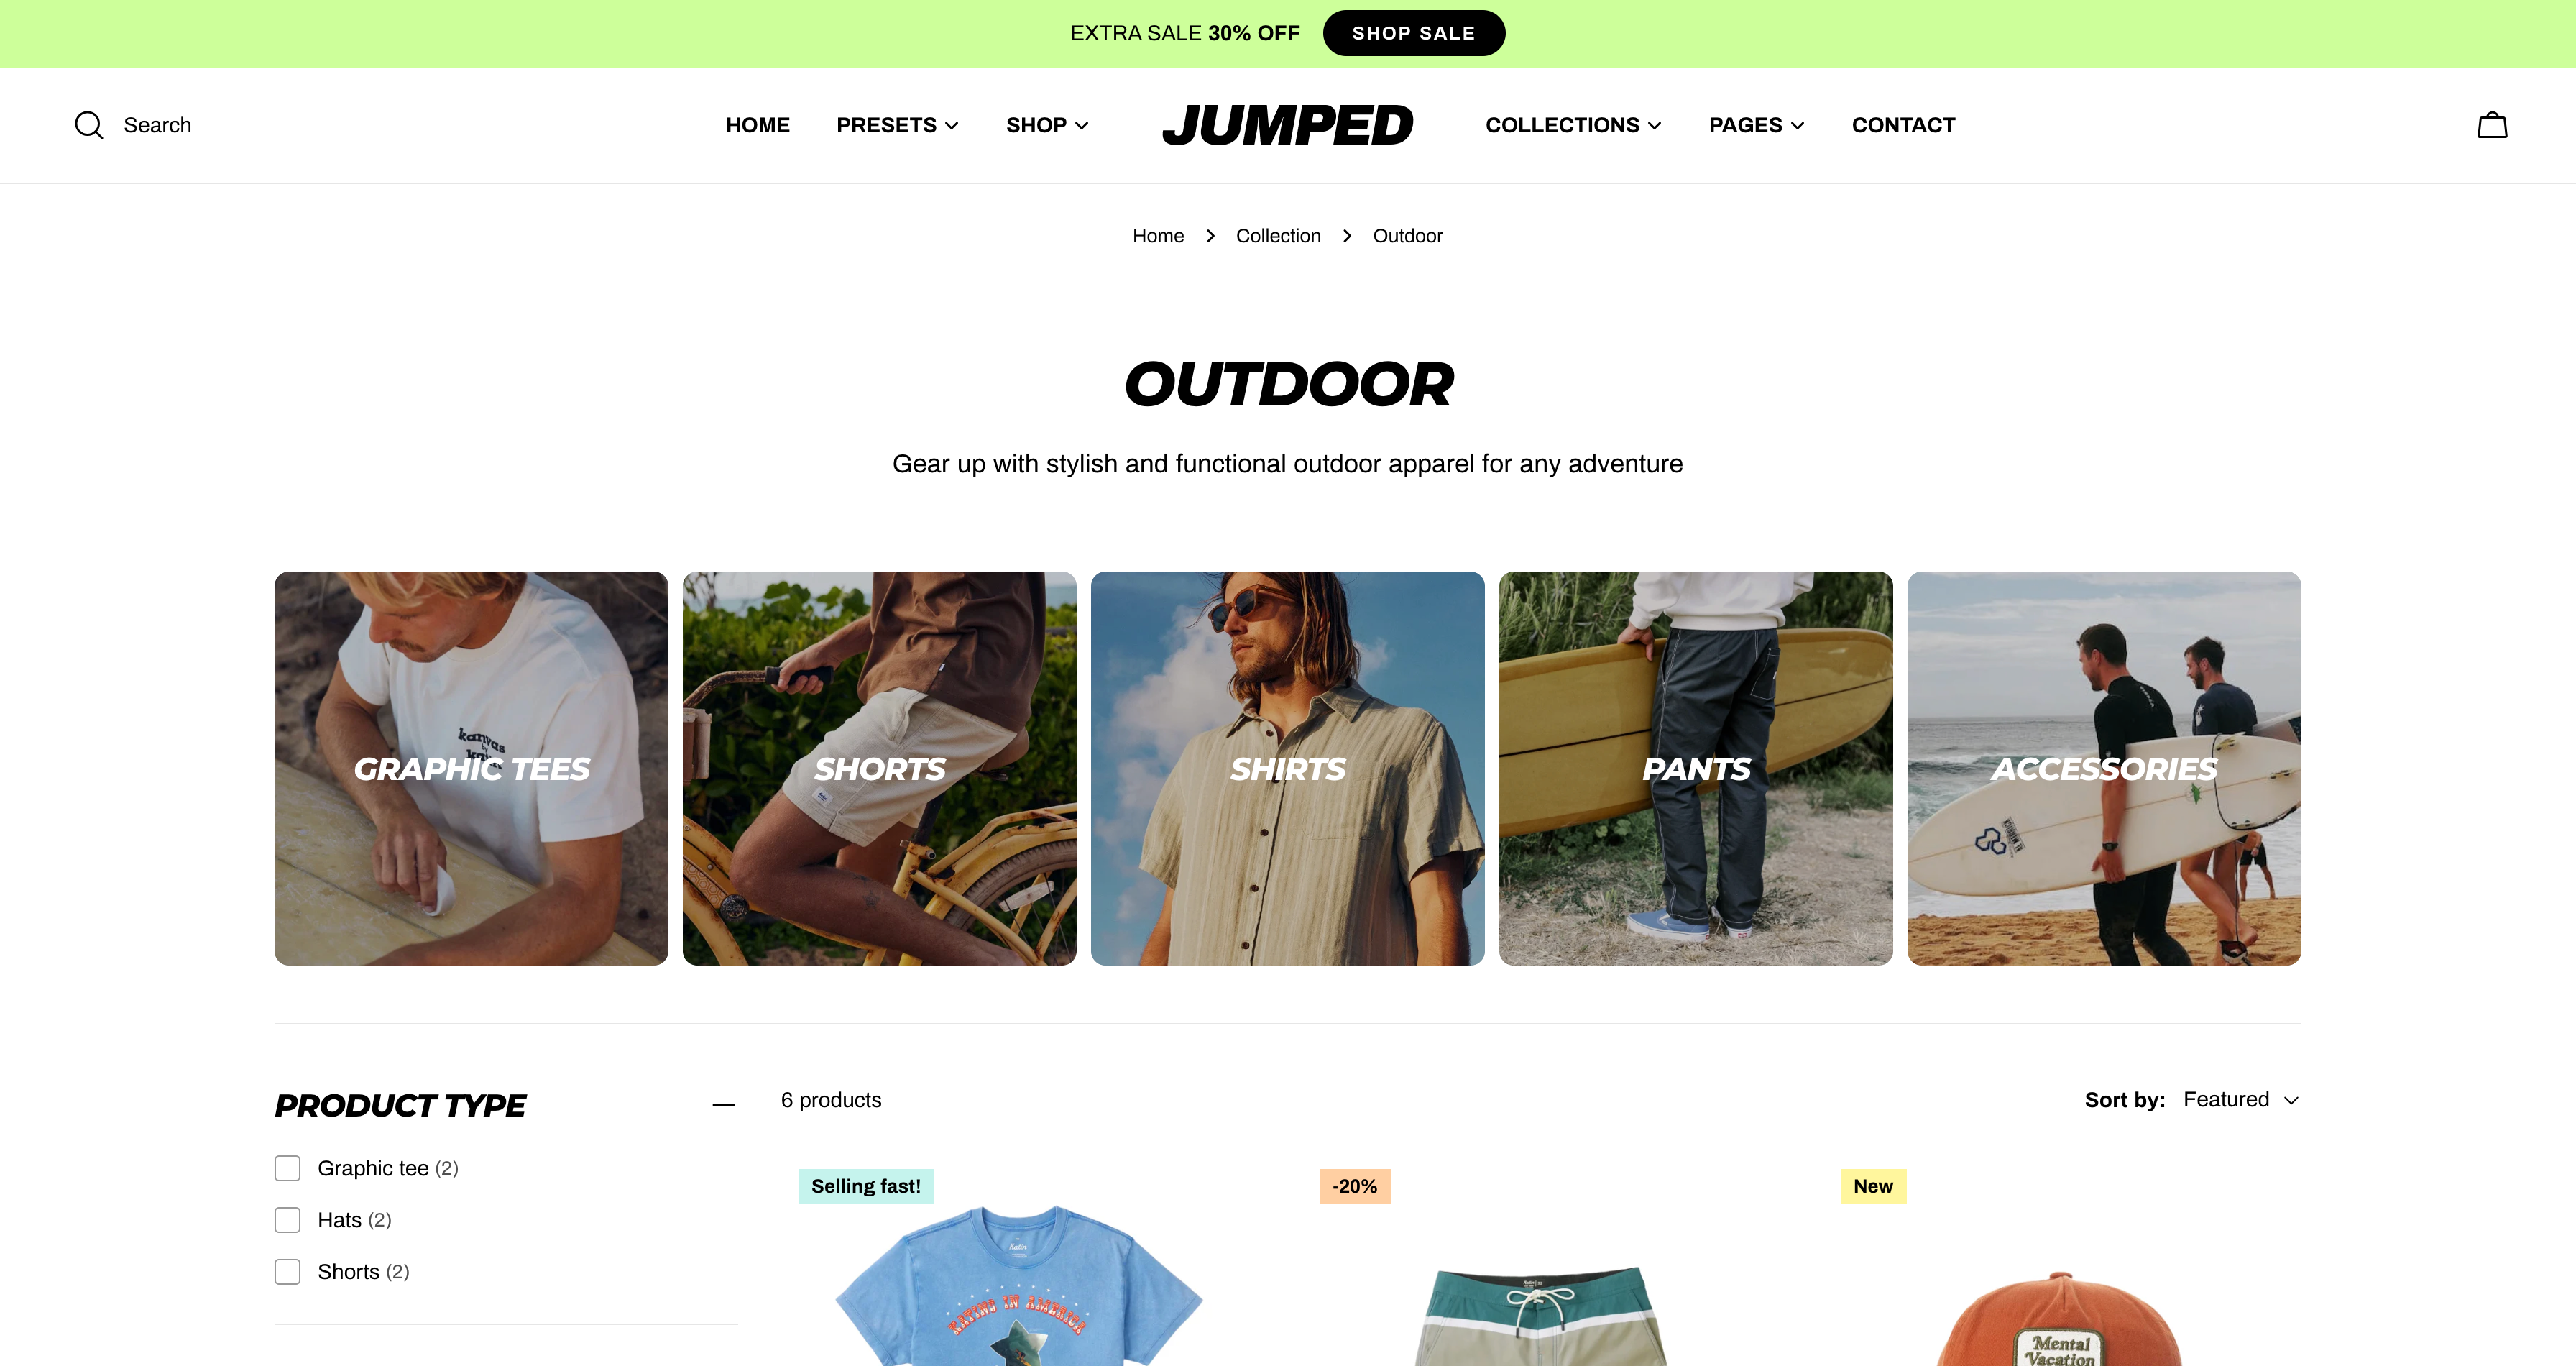
If you’re willing to invest $350, we recommend the Sleek theme. It’s visually flexible and neutral enough to fit any brand. In simpler terms, it offers a high level of customization to match your company’s creative style. With dozens of section options, it gives you the freedom and flexibility to design as you like.
Adding pages to your website
TLDR: Add these non-default pages to your website: About Us, Contact Us, and FAQs.
Next, we’ll need to add a few pages to your website. By default, a Shopify store includes several standard pages essential for e-commerce functionality. These pages are:
- Home
- All Products / Collection template
- Product Display Page
- Track My Order
- Cart
- Checkout
- Login / Signup / Reset Password
- My Account / Addresses
- Blog template (optional)
- Post template (optional)
- Policy pages (Refund / Privacy / Terms of Service)
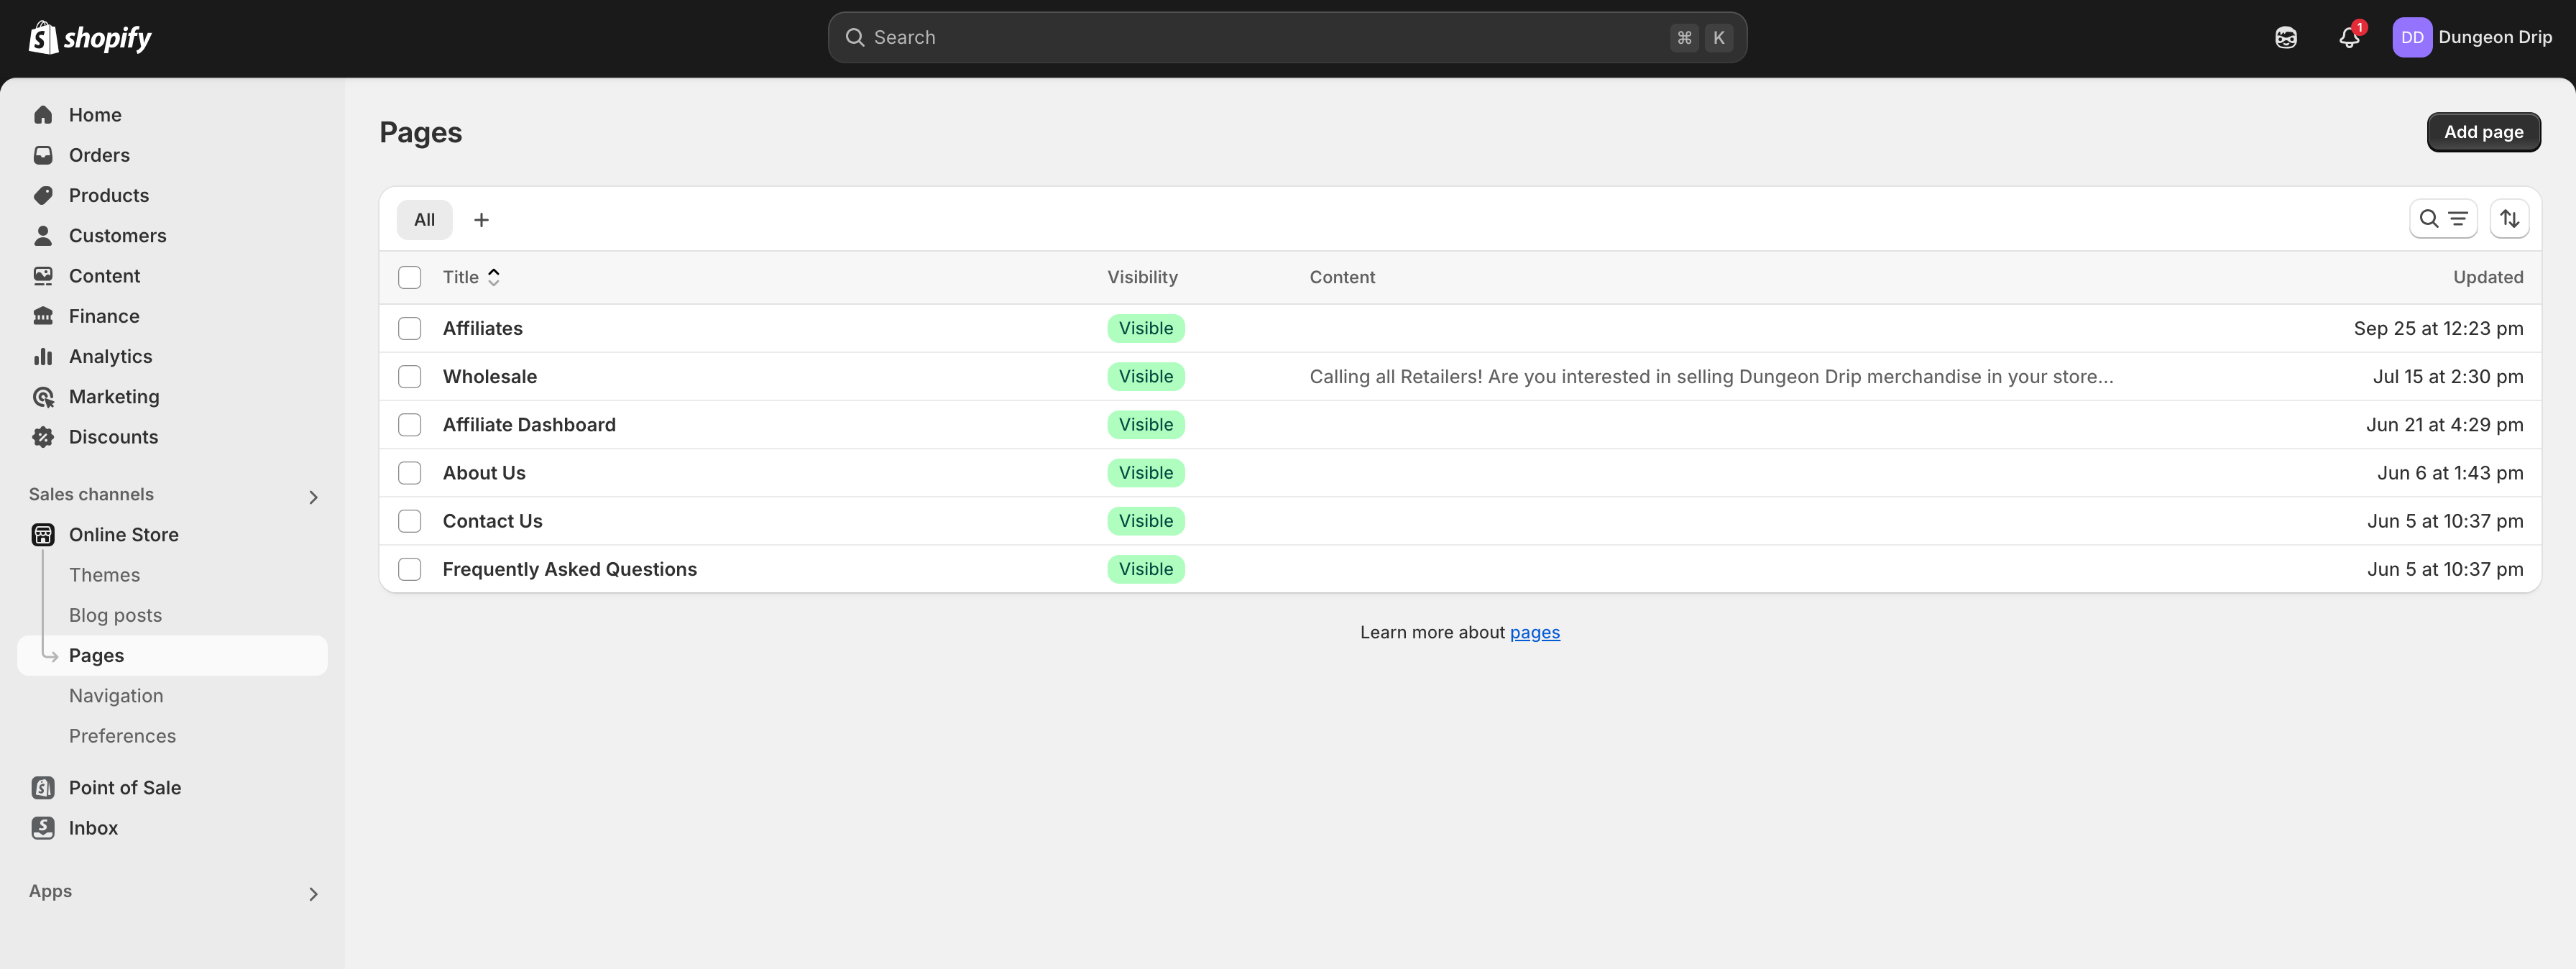
While Shopify covers most essentials by default, there are a few additional pages that aren’t standard but are worth adding to your site. You can create these pages using the Pages tool, and they include:
- About Us
- Contact Us
- FAQs
Click here for in-depth instructions
Special note: For each page, you will also need to assign the meta data that you would like featured in search engine results. Shopify has released a helpful resource that can be found right here.
Customize your global theme settings & configure your page templates
TLDR: Use the theme customizer to customize the global theme settings as well as the sections, visuals, and content on each page.
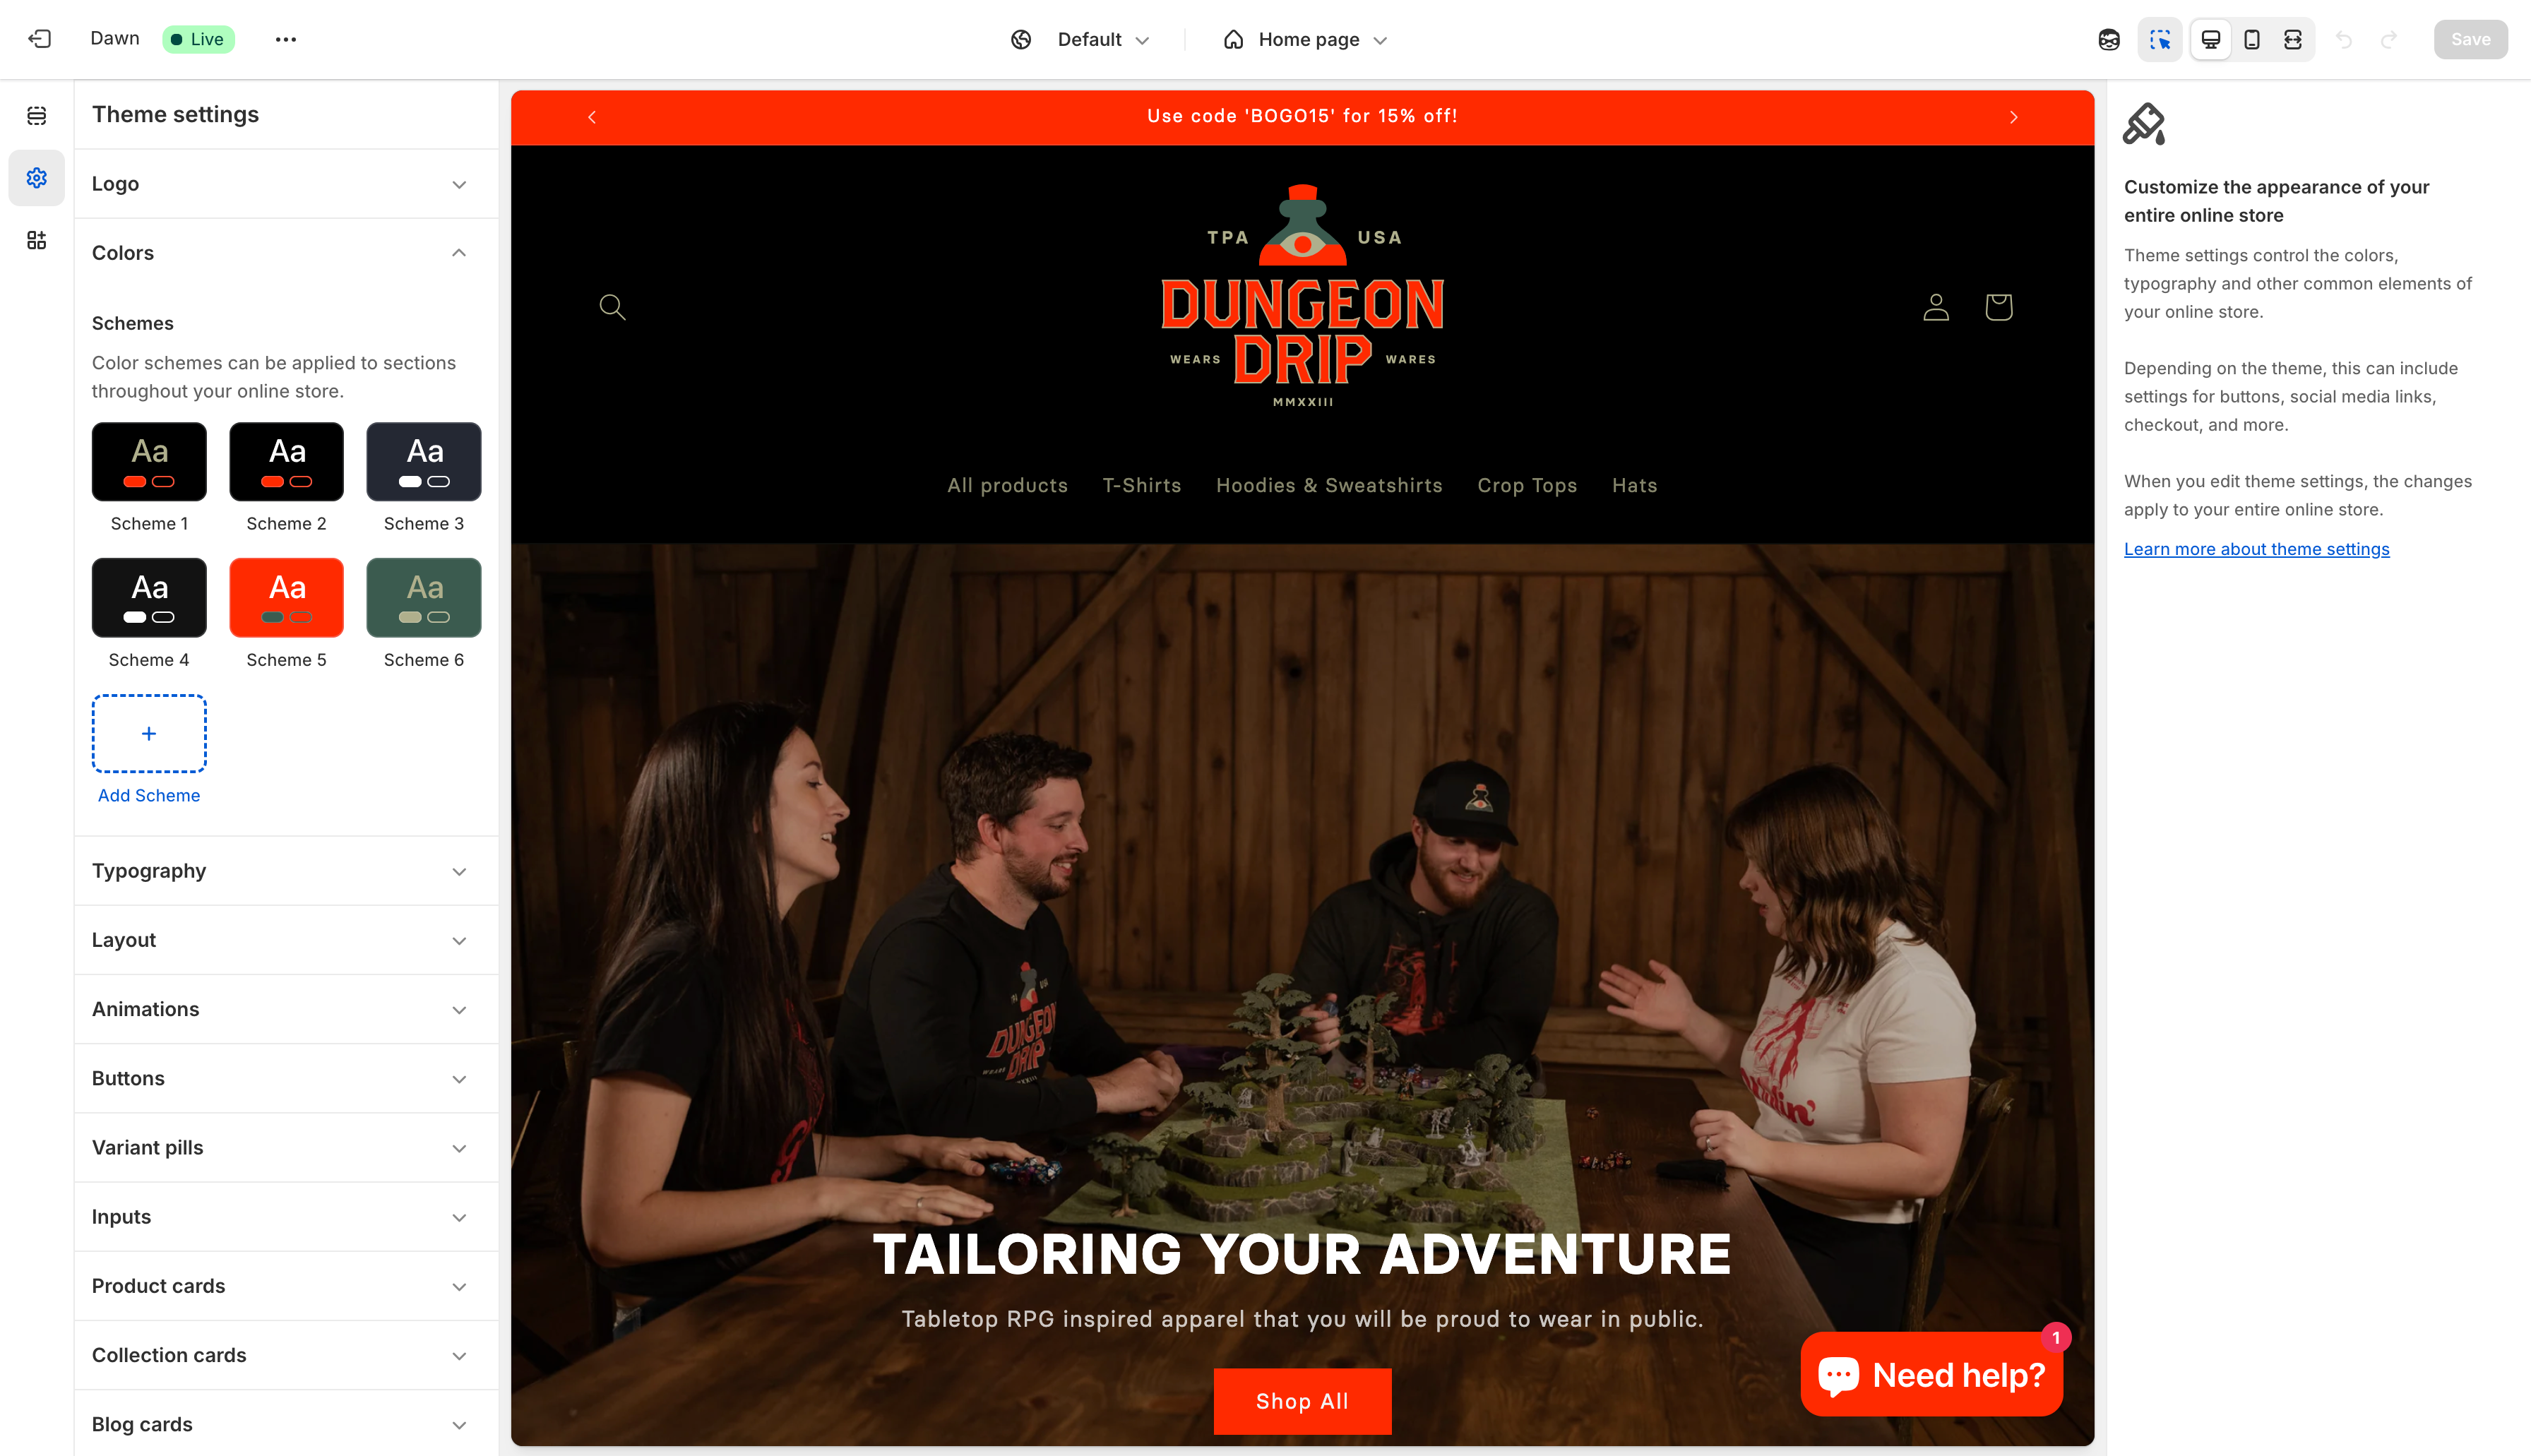
Once your pages are added, you will begin the tough job of customizing your theme and the content, sections, and visuals that are on each page. This will be done using Shopify’s theme customizer.
Begin by customizing your global theme settings to ensure a smooth editing process. Your objective is to align the theme’s design with your brand’s visual identity. This involves setting brand colors, selecting fonts that match your primary typography, styling buttons to reflect your brand’s aesthetic, and more.
After setting up your global theme settings, use the dropdown at the top of your theme customizer to navigate and customize the various page templates on your website.
As you customize these pages, you’ll be selecting sections and adding content directly into the page templates, so get ready to channel your inner copywriter. Aim for a balance between being informative and concise.
Assign your templates to your pages, products, and collections
TLDR: To make your templates live on your website, assign each template to the appropriate page, product, or collection in your settings.
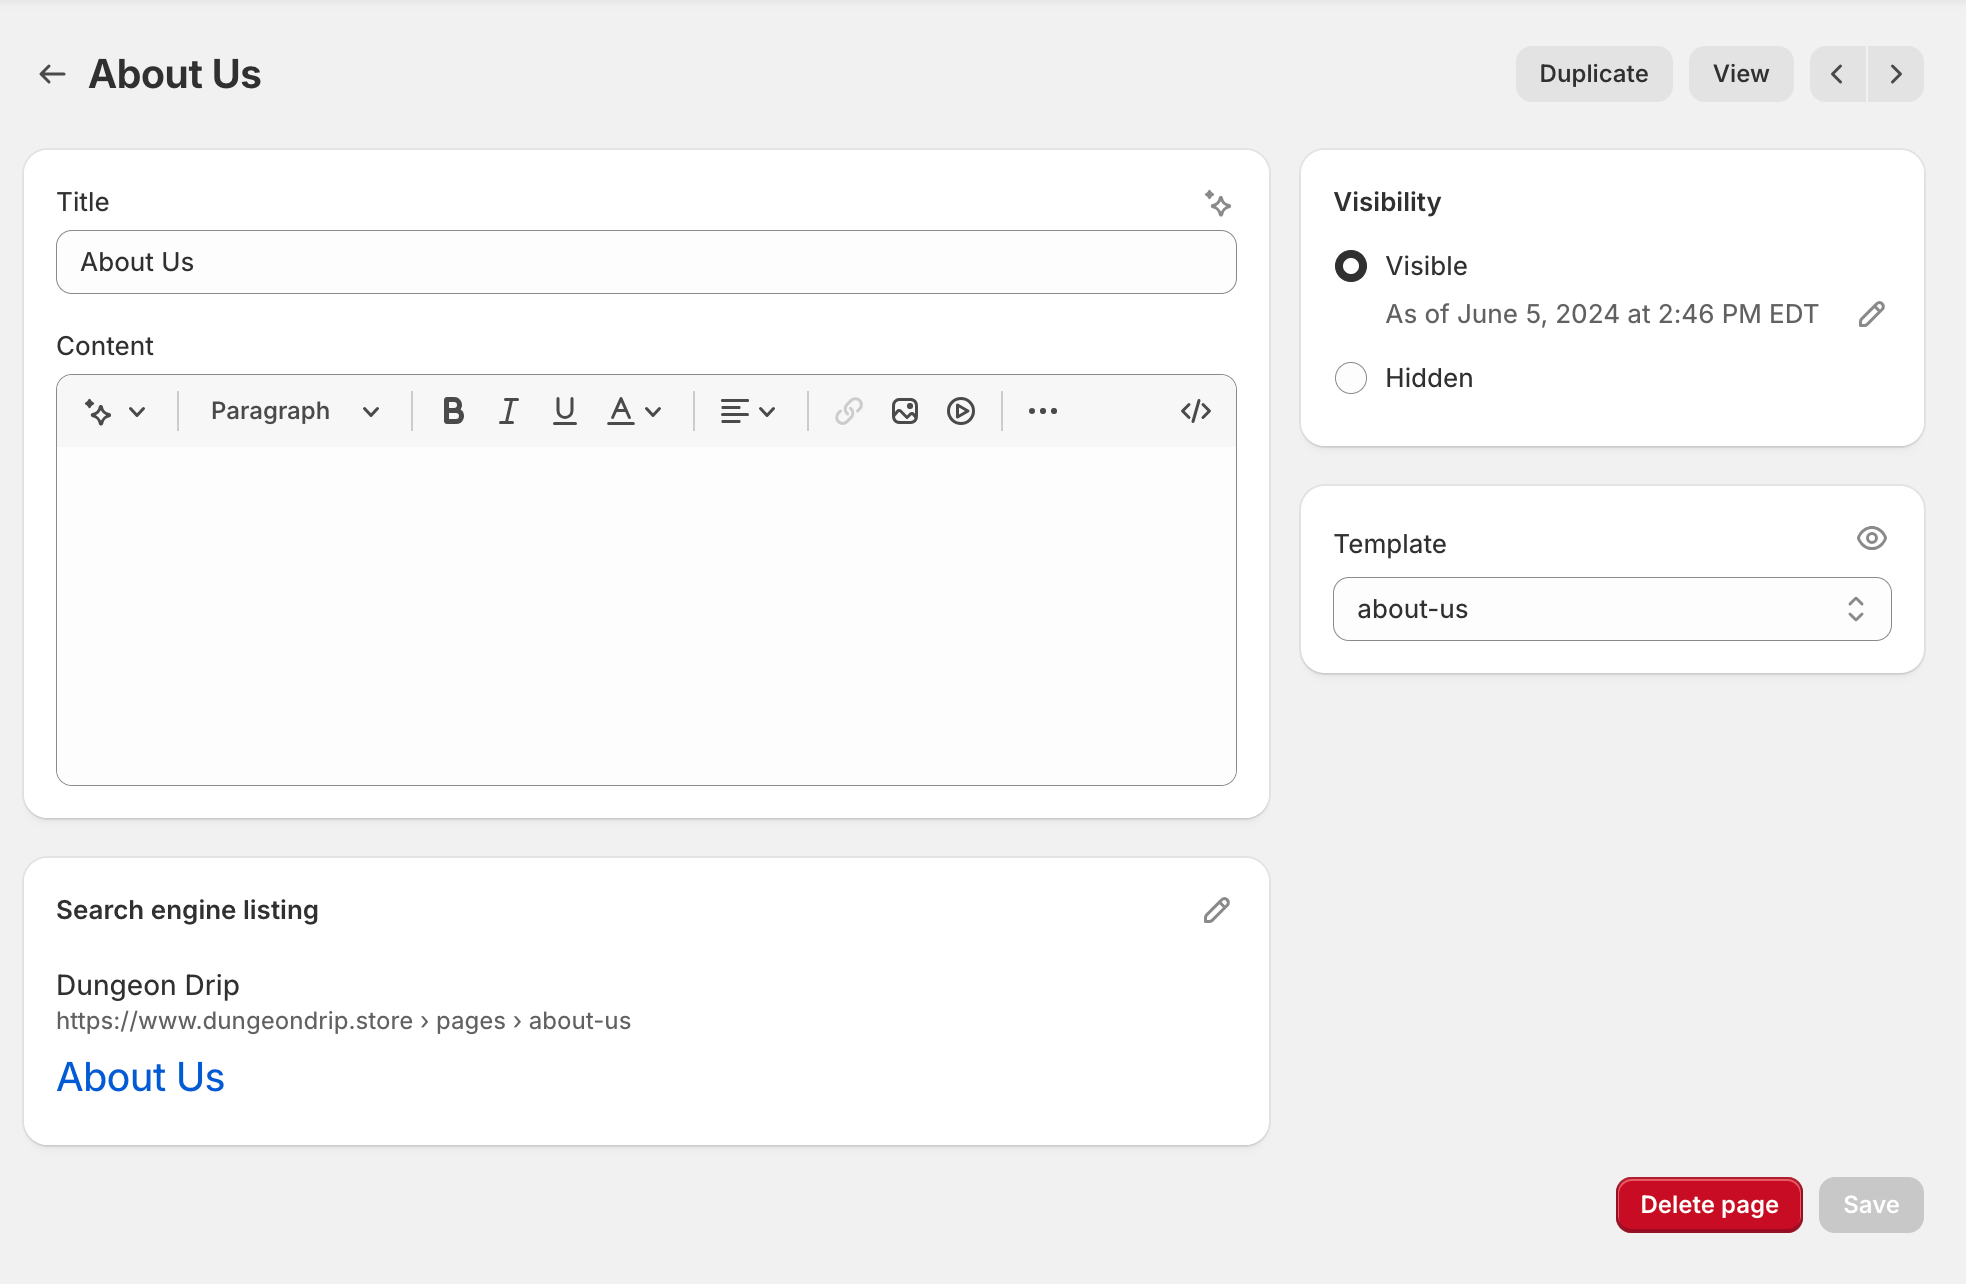
Now that you’ve set up your templates in the theme customizer, you’ll need to assign them to the appropriate pages, products, or collections. Simply navigate to the desired page, product, or collection and use the "Template" dropdown to select the template you want to apply.
Special note: If you leave a page, product, or collection template undefined, it will automatically be set to the "Default" template.
Step 4: Add helpful apps to support your business functions
TLDR: The Shopify App Store has a ton of useful apps that can help you run your business. We have another resource that you can use to determine what apps are perfect for you right here.
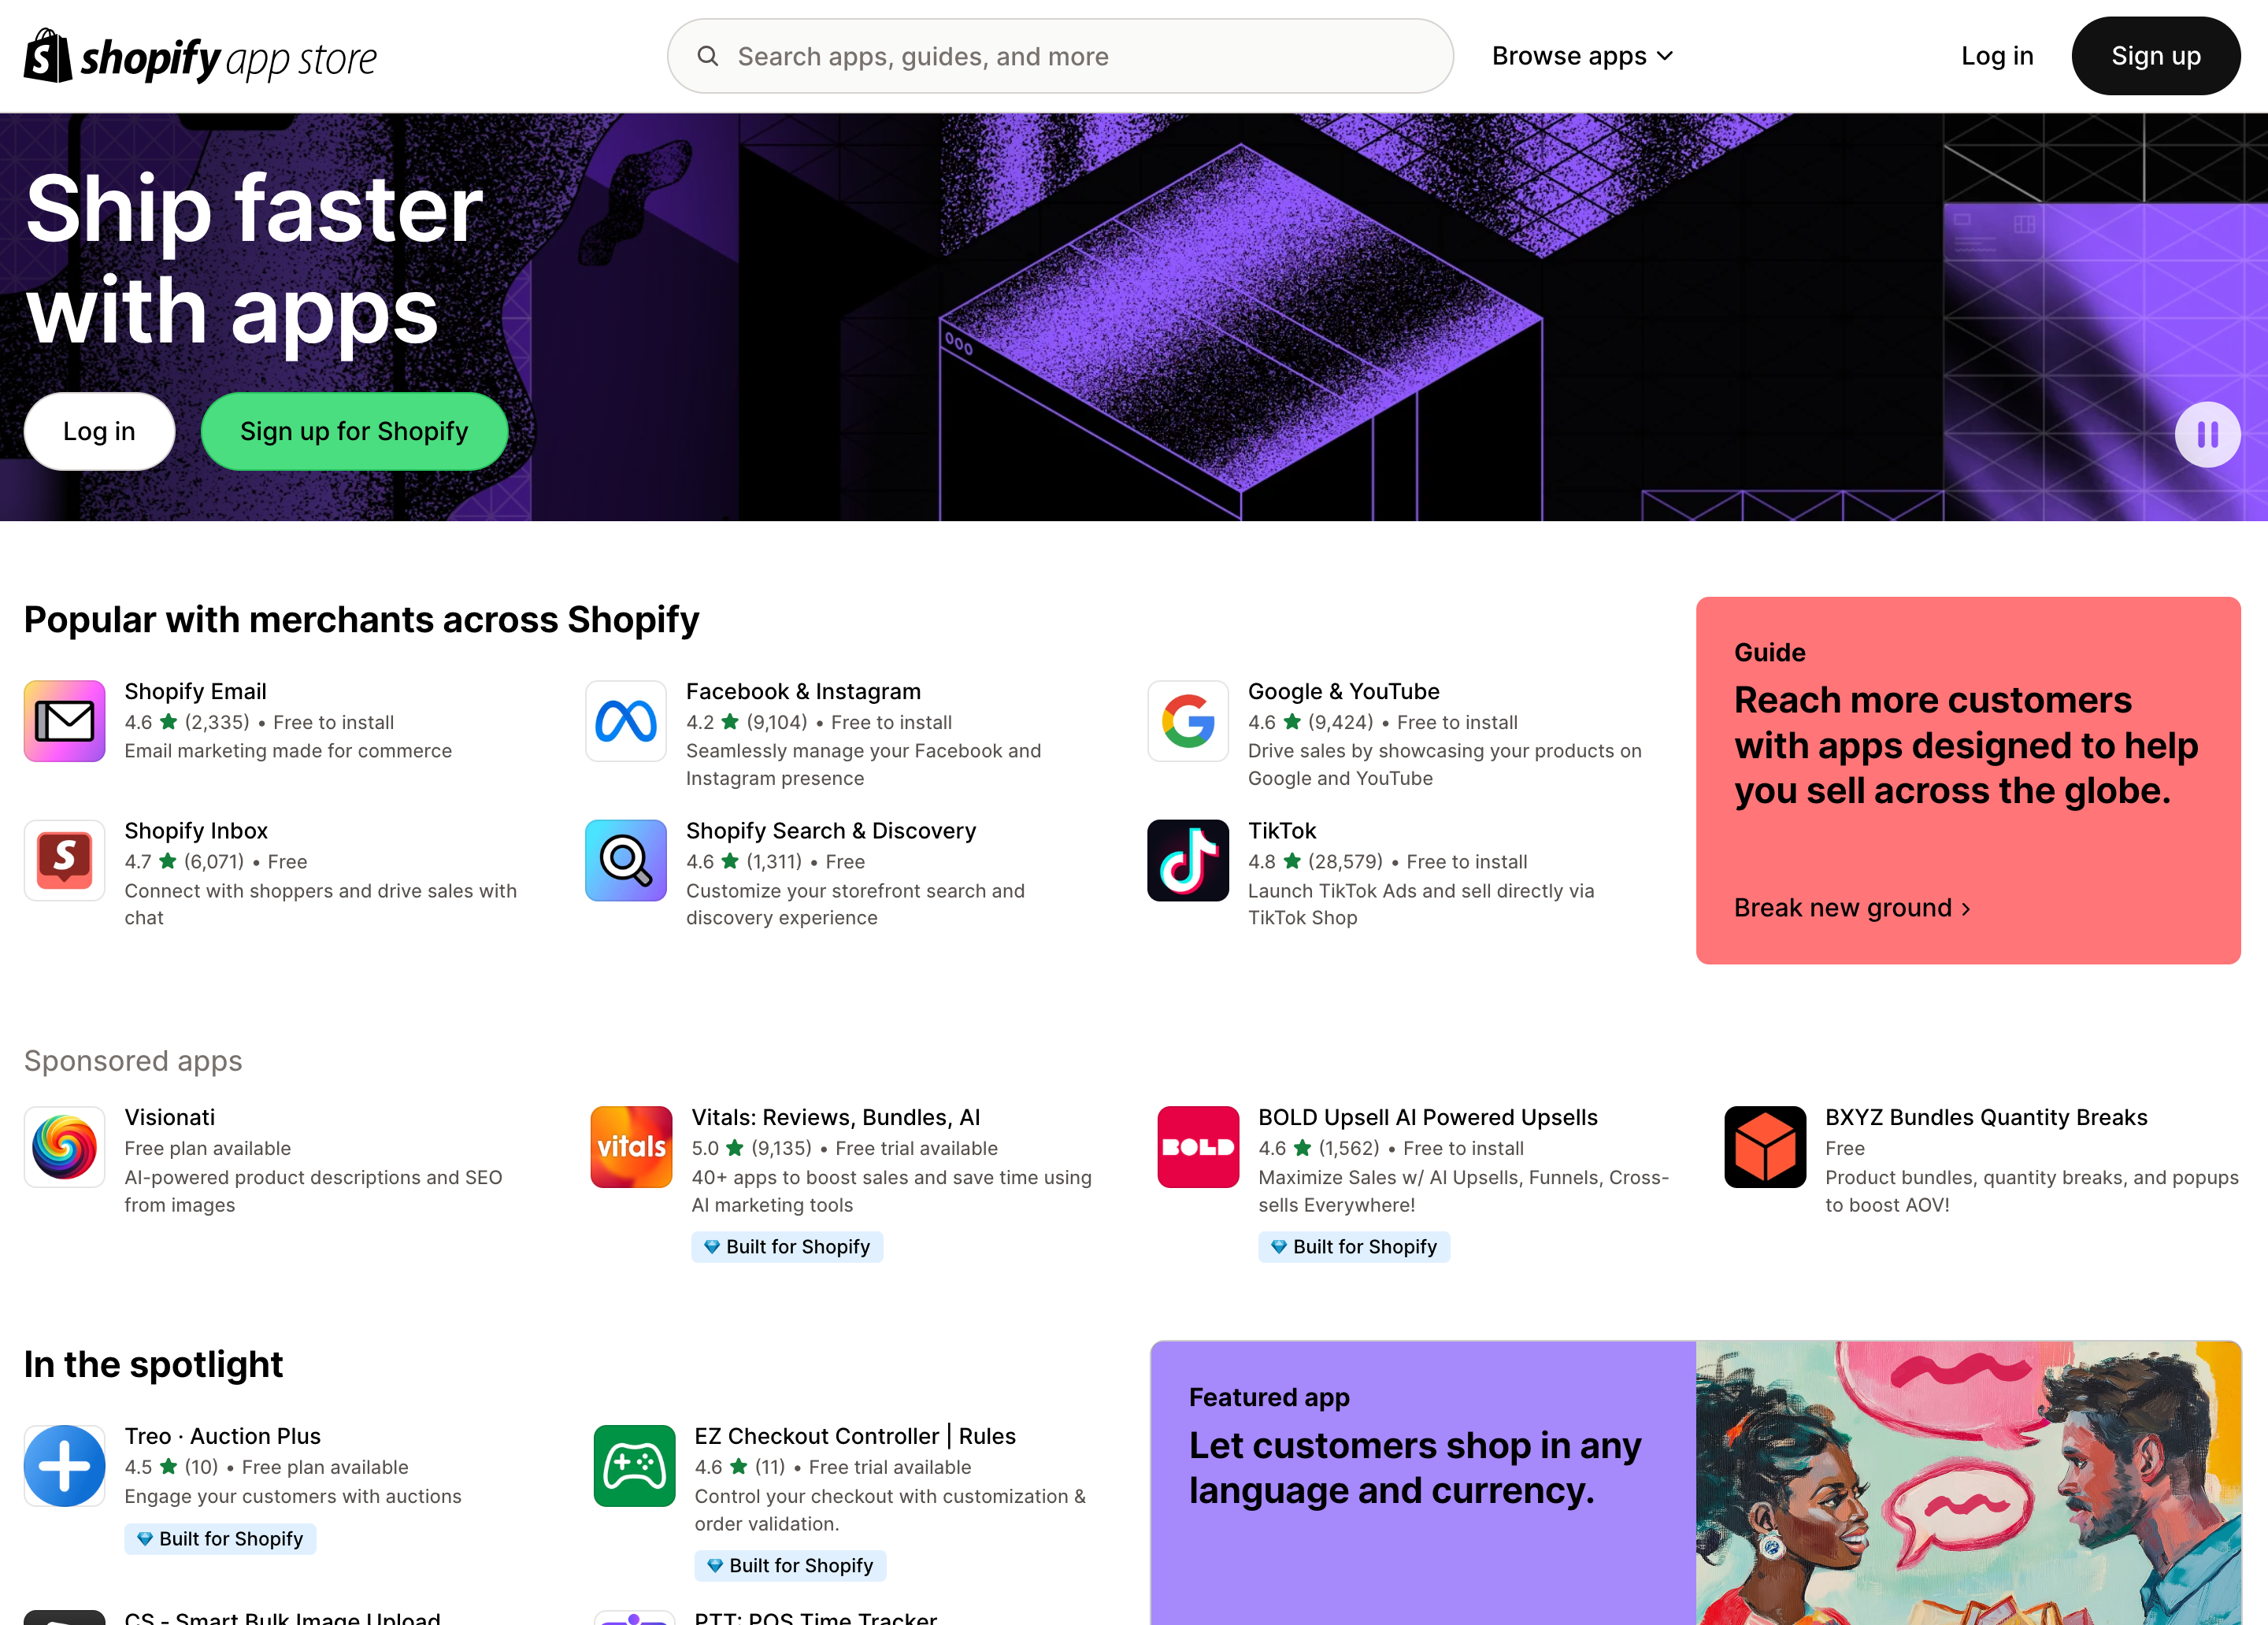
Shopify has a robust app marketplace full of tools that make running your business easier. If your brain can imagine it, chances are there is an app that can accomplish it.
Another comprehensive guide
We have put together another resource dedicated to helping you select the correct set of Shopify apps for your store.
Click here to view the resource
Step 5: Purchase a domain, add it to your store, and launch your website
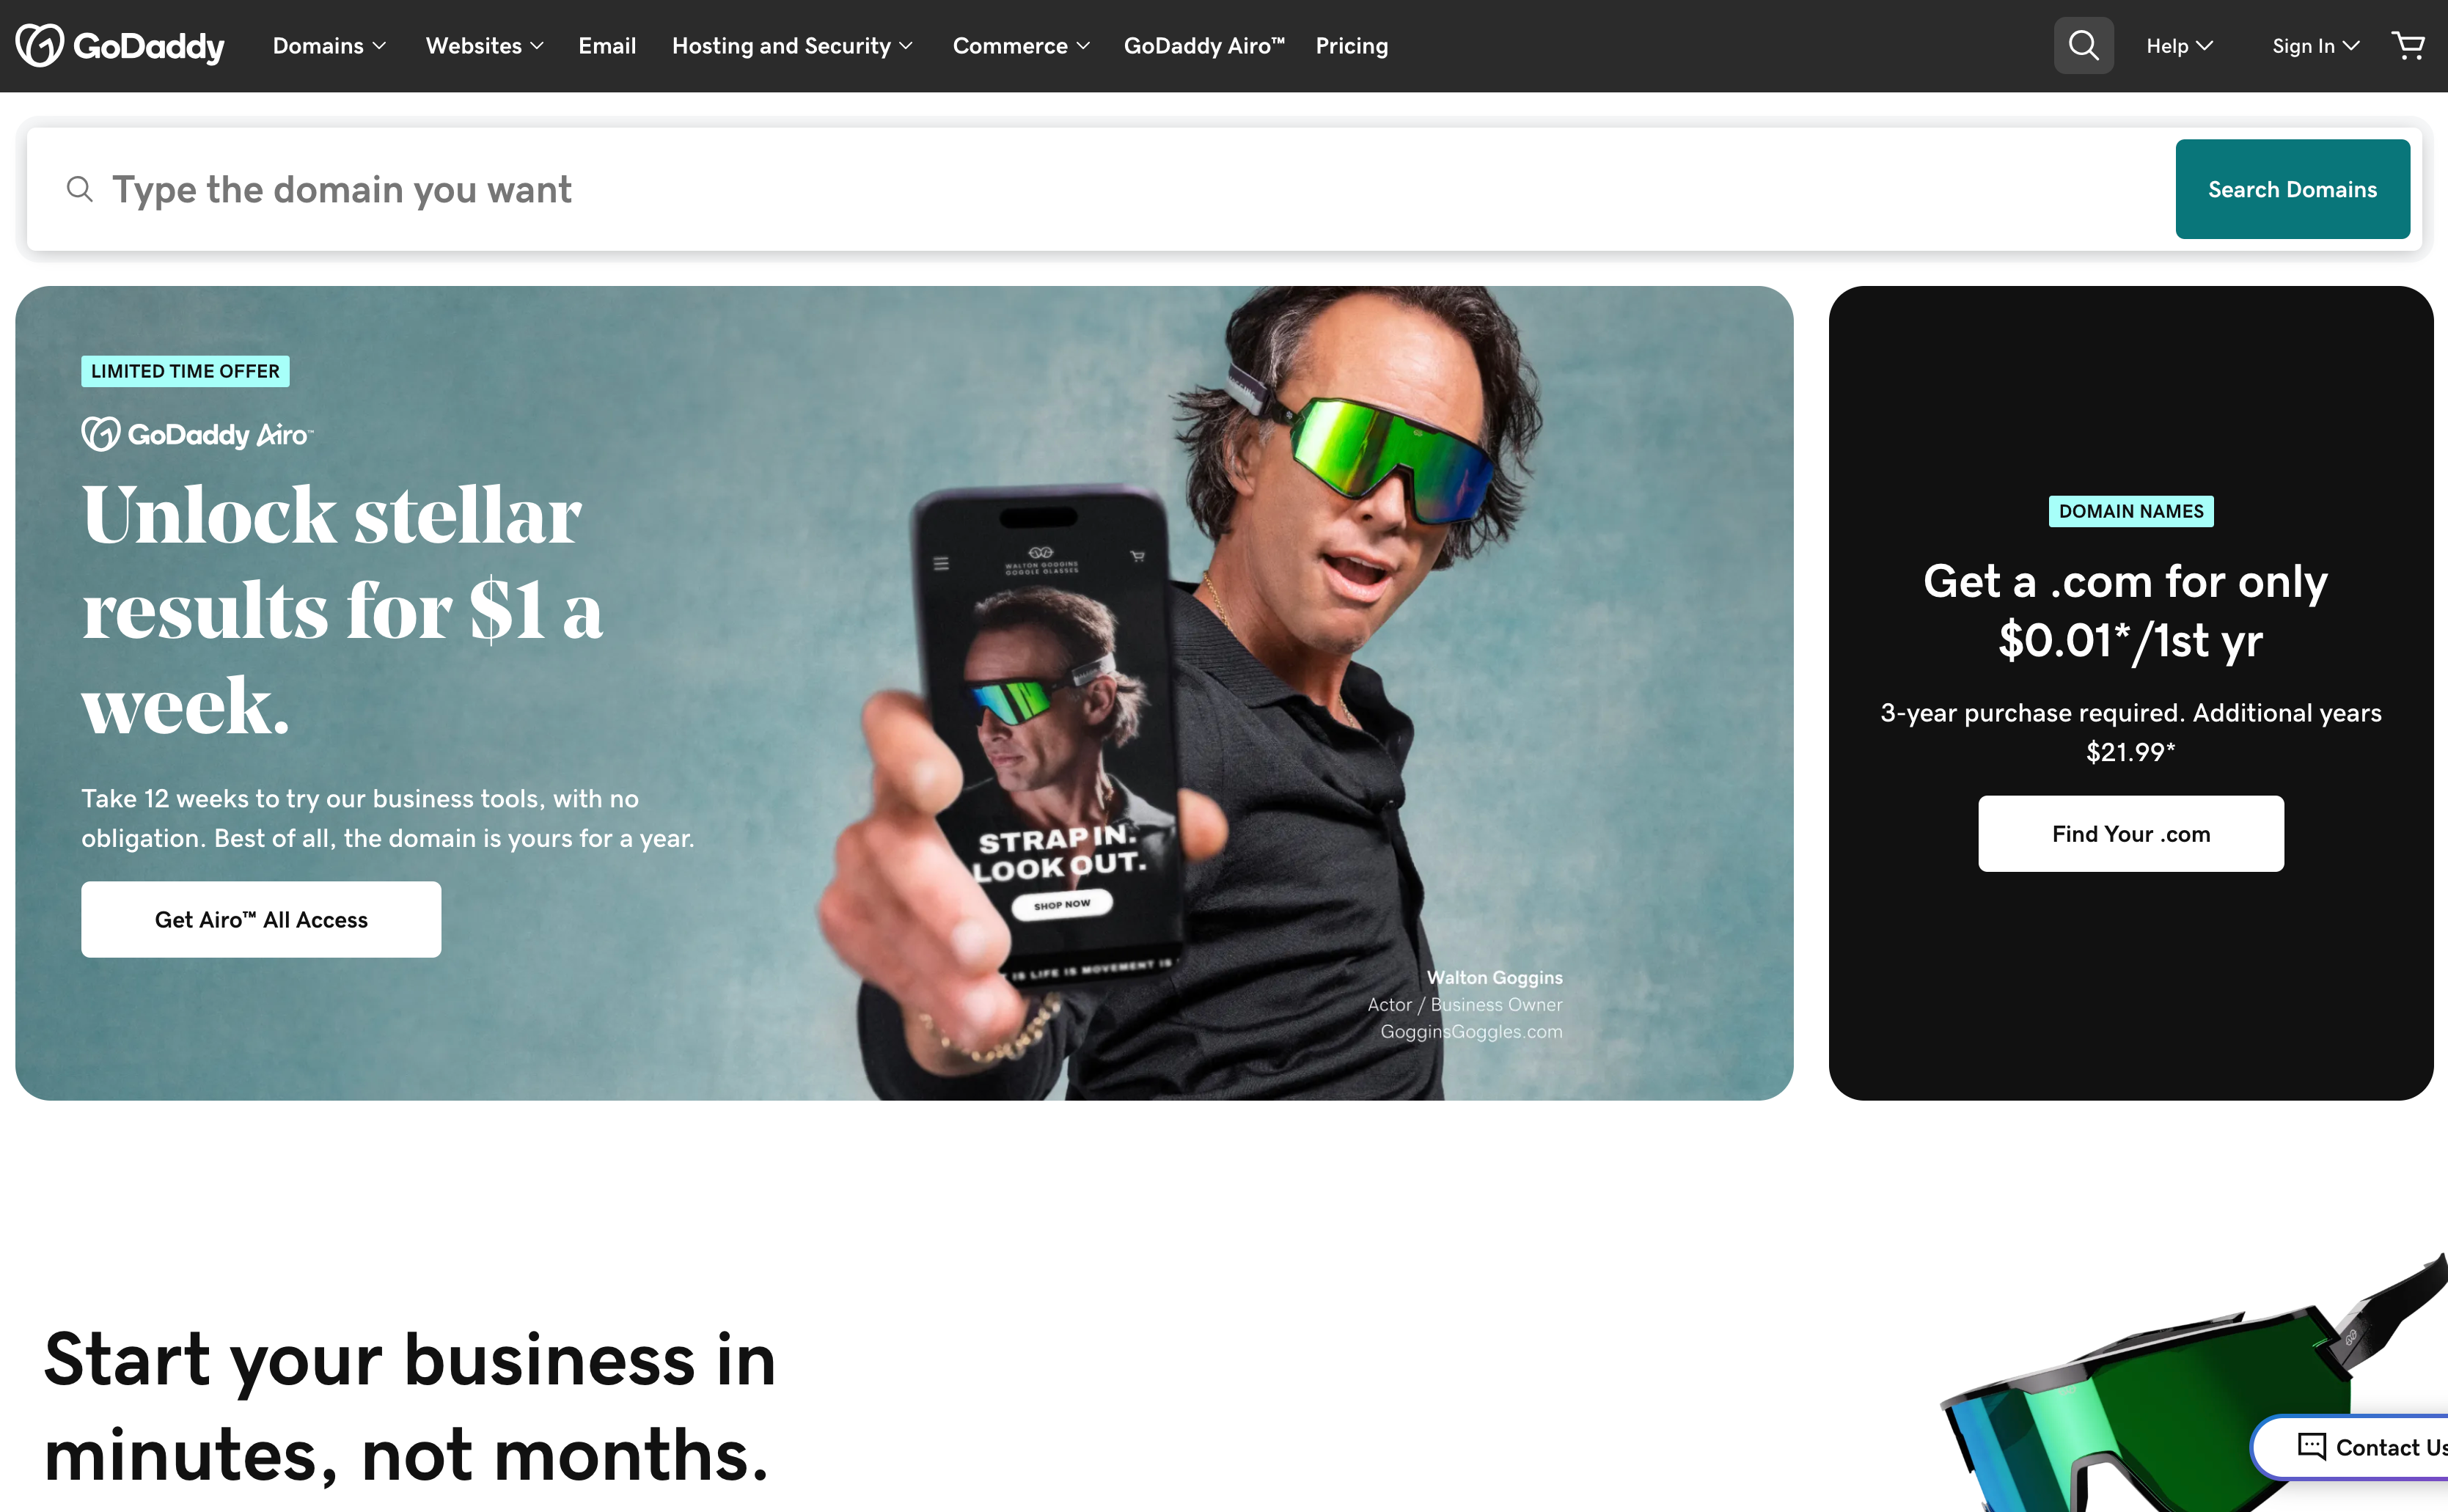
TLDR: Purchase a domain through GoDaddy.com and add it to your store like this.
Now that you’ve created your Shopify account, added your business and store settings, set up your products and collections, configured your store pages and templates, and added your Shopify apps, you are ready to officially launch your store.
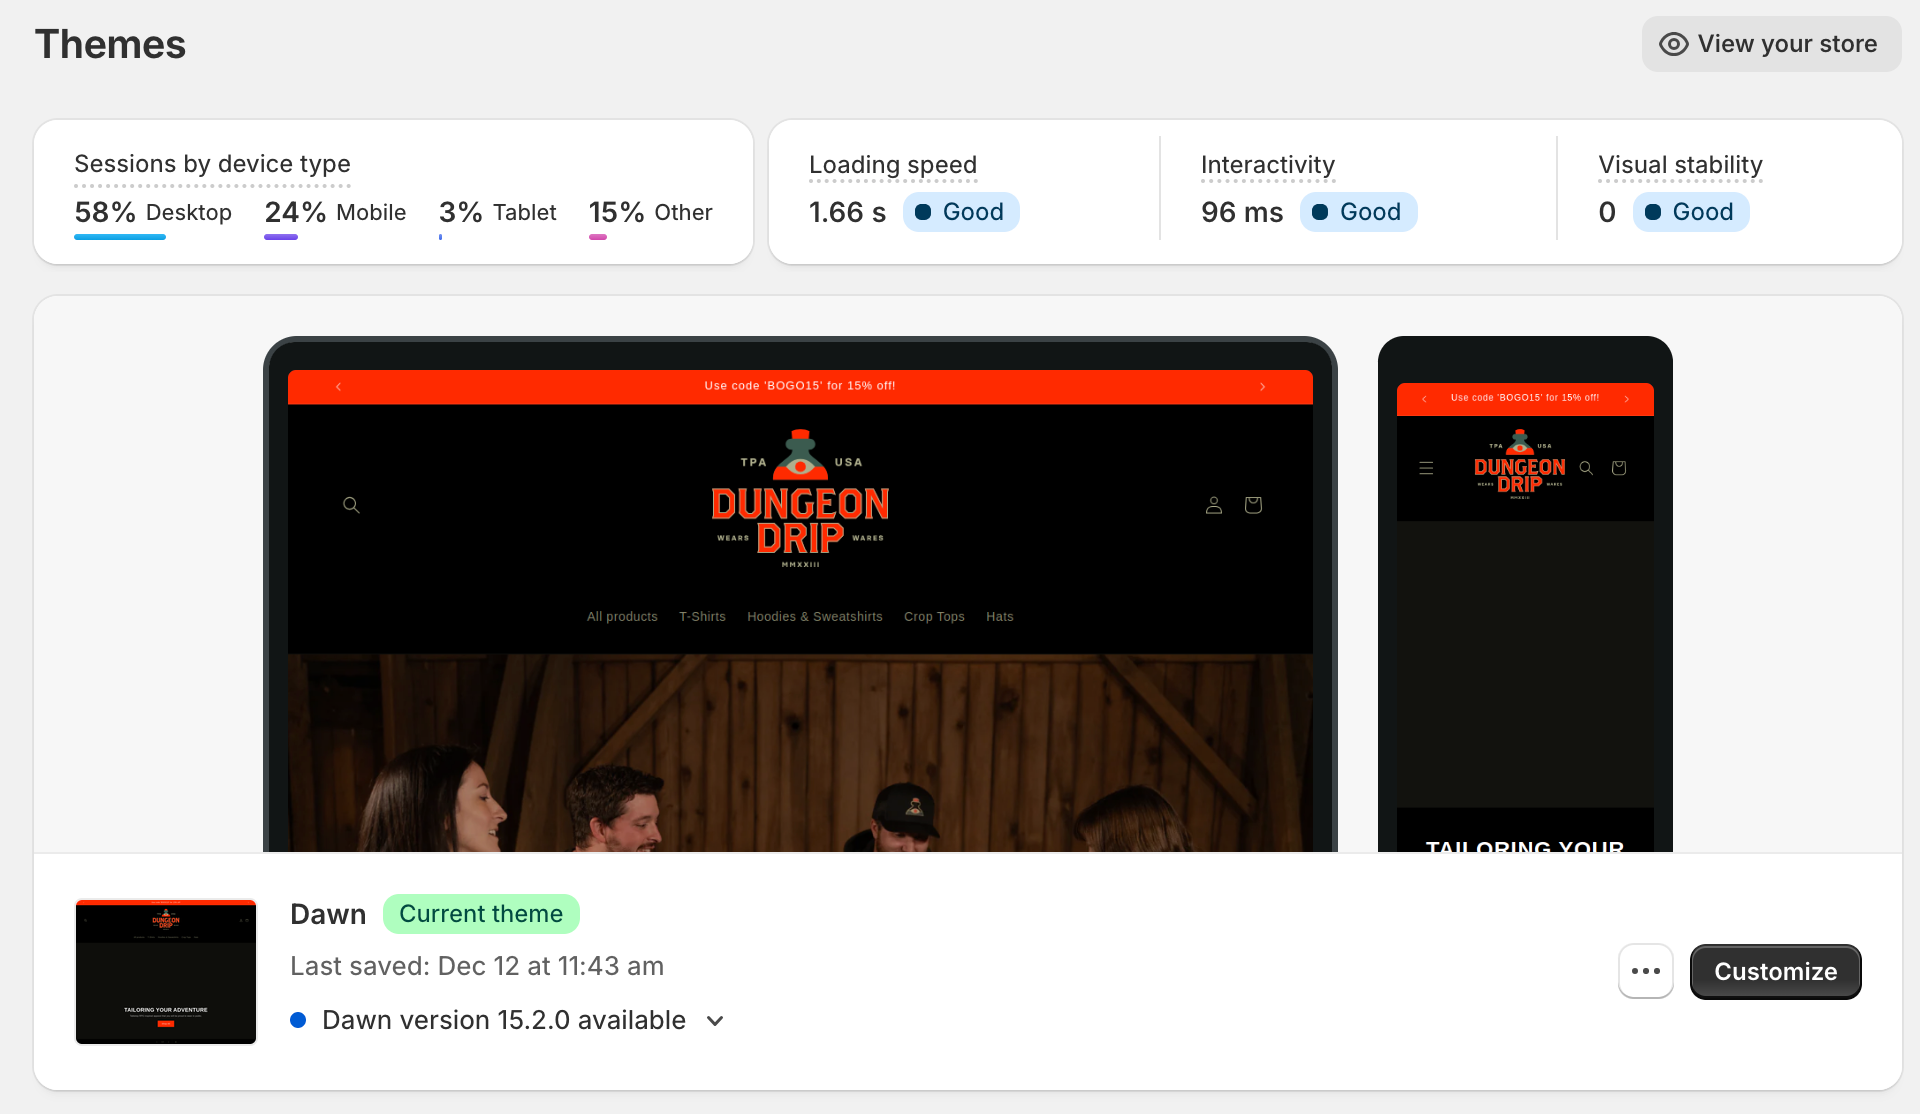
Make sure your theme is published
It’s simple. Just follow this documentation, which provides a step-by-step guide to publishing your theme.
Sign up for a GoDaddy account and purchase your domain
If you haven’t already, create a GoDaddy.com account and purchase your domain. We recommend choosing a .com domain for your brand if it’s available. If not, consider using an alternative extension like:
- .shop
- .store
- .online
- .net
- .co
Special note: If you already have a DNS provider, you can purchase your domain and configure the DNS settings directly within your existing account.
Add the domain to your store
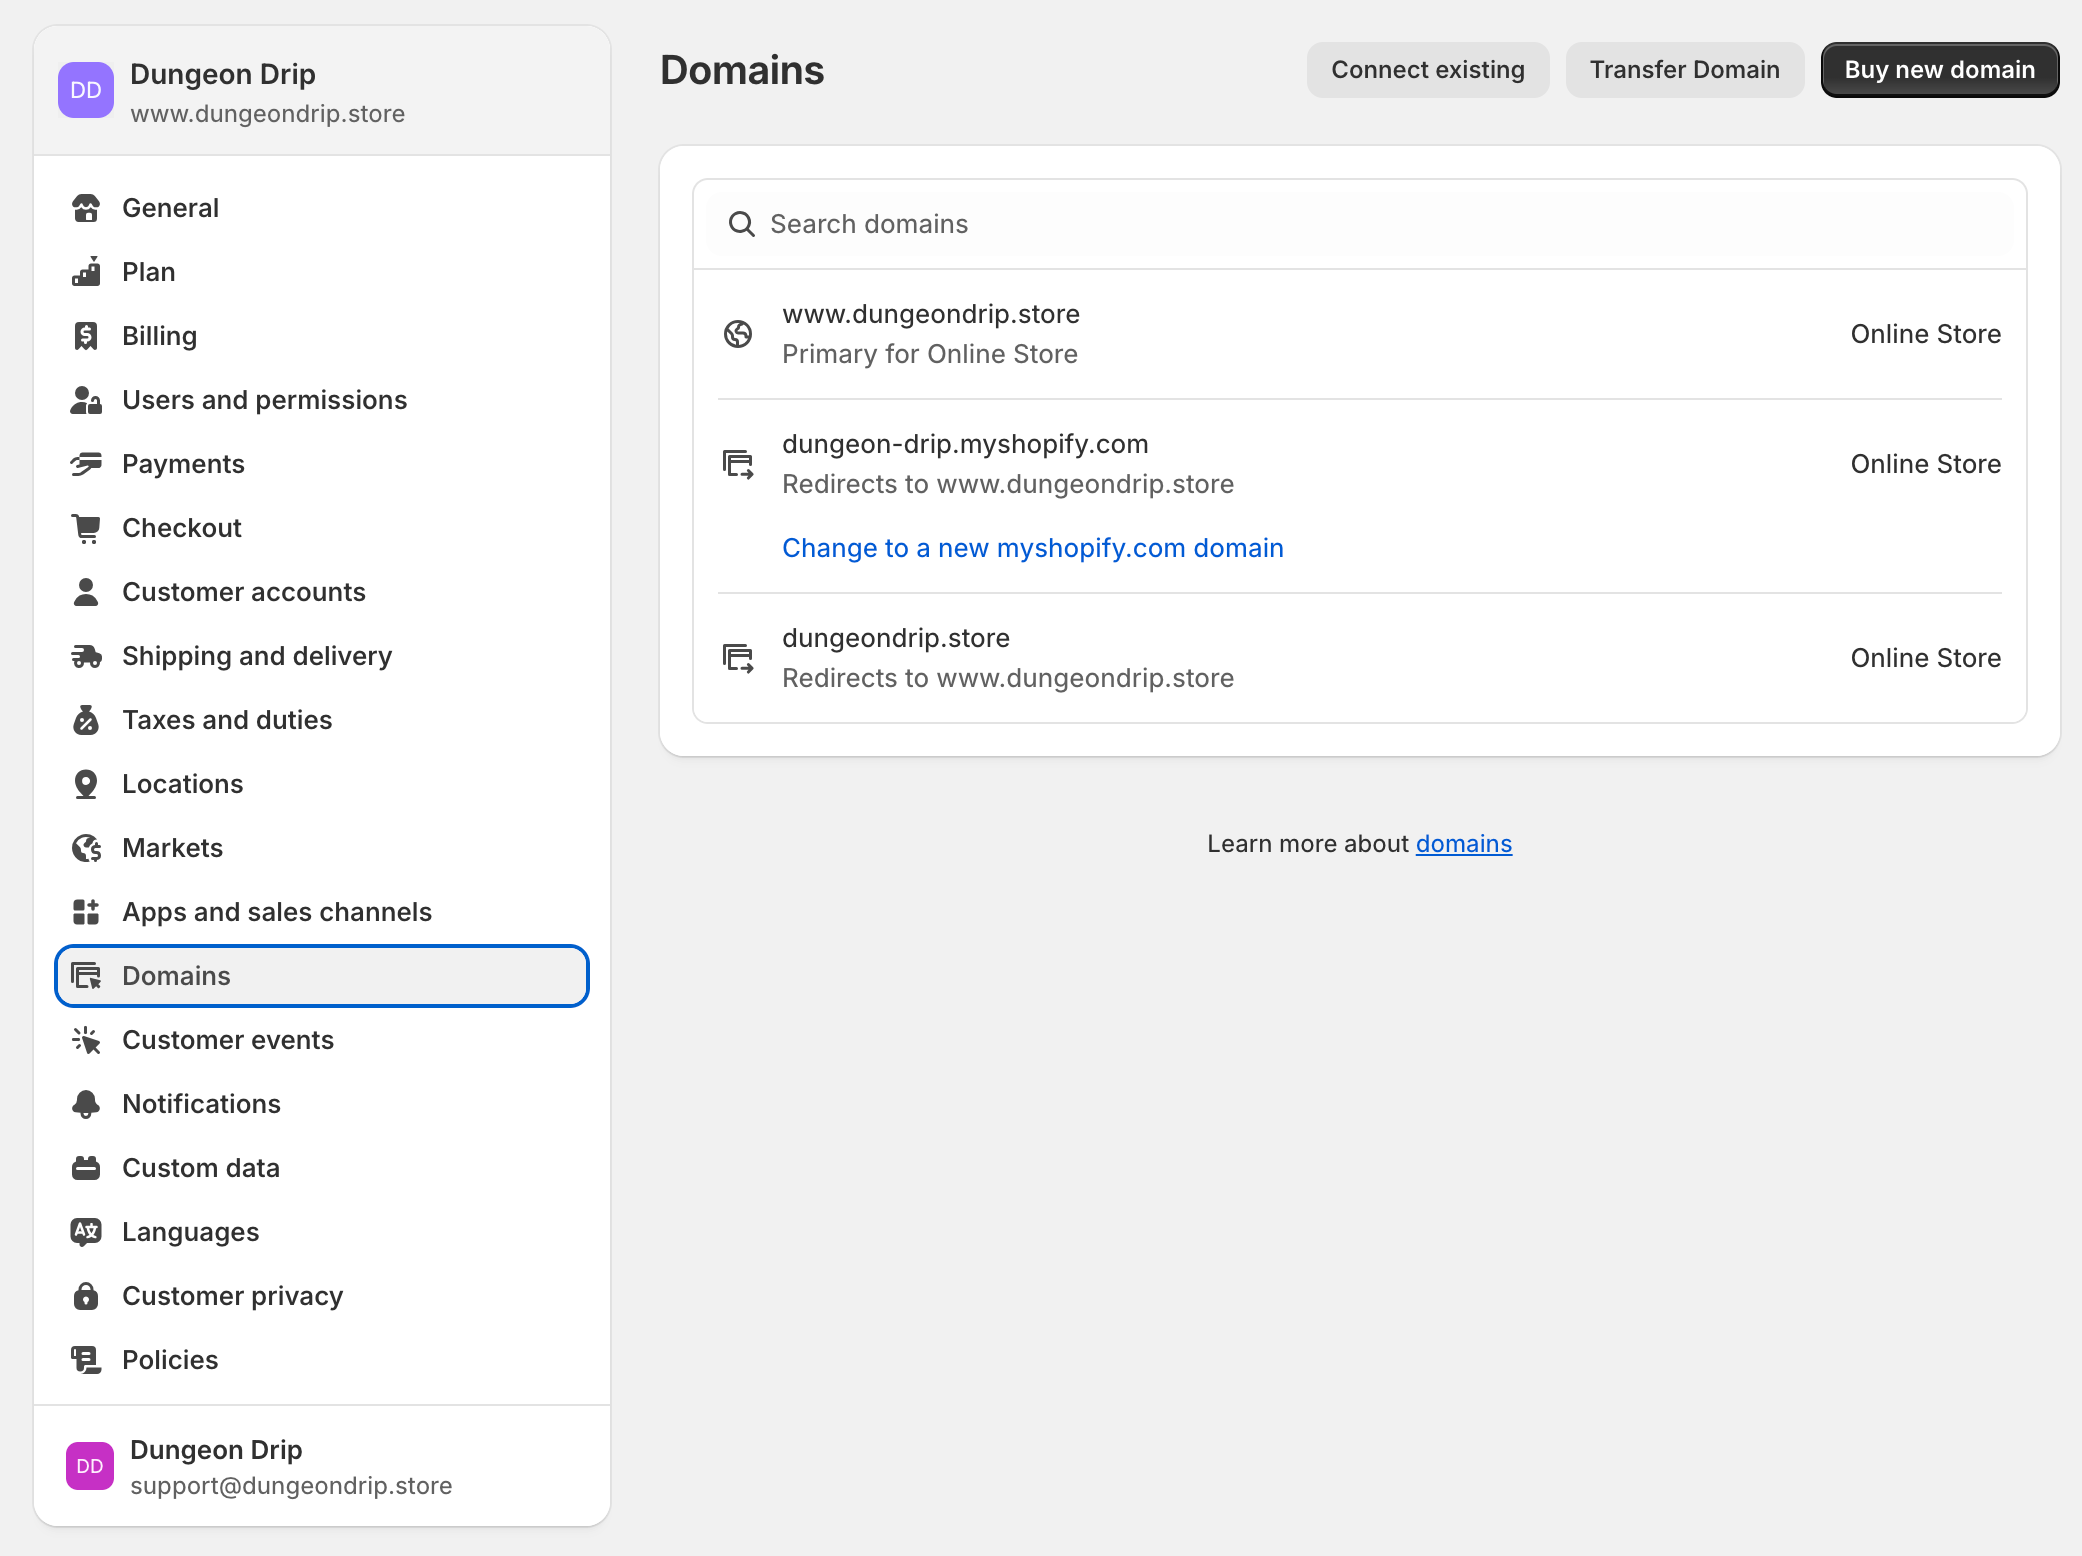
You’re almost done. Soon you will be selling your hobby game products. Are you excited? The only step left is to add your new domain to your store. This may seem intimidating at first, but Shopify has an easy-to-follow resource that will walk you through it step by step.
Click here for in-depth instructions
Well done. You have successfully set up your online store
That was a long process, but we are so proud of you.